You plug in your phone, but the charging icon doesn’t appear. A wave of panic sets in. Is the battery dead? Is it the cable? Or worse, is your phone broken? Before you start pricing out a costly new device, take a breath. The problem is often much simpler and cheaper to fix than you think. In many cases, the culprit is a small collection of pocket lint and debris physically blocking your charger from making a solid connection.

In a Nutshell
- Start with Air: Always use compressed air in short bursts as your first step to dislodge loose debris.
- Avoid Metal at All Costs: Never use paper clips, needles, or any metal object. They can cause short circuits and permanent damage.
- Use Non-Metallic Tools: For compacted lint, a plastic dental flosser or a wooden toothpick is the safest bet. Be gentle.
Why Your Phone Fails to Charge
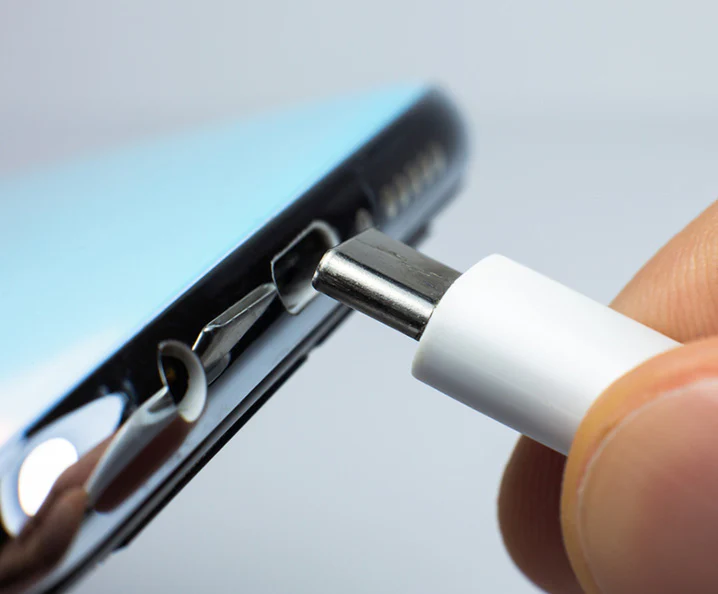
A dirty charging port is a primary cause of charging issues, often mistaken for a faulty battery or cable. Lint, dust, and grime from your pockets or bag accumulate over time, getting packed down every time you plug in your charger.
This creates a physical barrier that prevents the charging cable from seating correctly. You might notice your cable feels loose or falls out easily. According to some repair shops, as many as 40% of phones brought in for ‘broken’ charging ports just have a severe buildup of lint. This simple issue can lead to slow charging, an intermittent connection, or a complete failure to charge.
Common Causes of Charging Port Failure
Many users express frustration after paying a repair shop around $30 for a service they feel could have been done at home. While professional cleaning is an option, a full port replacement can be costly, ranging from $50 to over $250 depending on your phone model.
Safely Cleaning Your Charging Port: Step-by-Step
To clean your smartphone’s charging port, first turn the device off completely. Use short bursts of compressed air to remove loose debris, then carefully use a non-metallic tool like a wooden toothpick or plastic dental pick to gently scrape out any compacted lint.
Step 1: Power Down and Grab a Light
Before you start, always turn your phone completely off to prevent any potential short circuits. Use a flashlight to look inside the port to see what you’re dealing with.
Step 2: The Air Approach
The safest method involves no physical contact. Use a can of compressed air, holding it upright and a few inches away from the port. Give it a few short bursts to blow out any loose dust and debris. But be careful; some professionals warn that a powerful, direct blast can potentially damage the internal microphone, so don’t aim the straw directly into the port.
And whatever you do, don’t blow into the port with your mouth. Your breath contains moisture that can cause corrosion and more damage down the line.
Step 3: Removing Compacted Debris
If air doesn’t solve the problem, you have compacted lint. This is where you need a tool, but the right one is critical.
- Best Option: Many users and experts recommend a plastic dental flosser. The thin, flexible plastic pick is less likely to break off or damage the delicate charging pins inside.
- Good Option: A standard wooden or plastic toothpick can also work. Be very gentle and scrape the walls of the port, avoiding the sensitive pins.
Never, under any circumstances, use a metal object like a paper clip, safety pin, or needle. These conductive items can easily scratch the internal contacts or cause a short circuit that fries the port entirely, turning a simple cleaning into a costly replacement.
Step 4: The Final Touch (If Necessary)
For stubborn grime that won’t budge, you can use a small amount of 70% or higher isopropyl alcohol. Lightly dampen the end of a foam swab or a piece of a cotton swab—do not soak it—and gently clean the contacts. Ensure the port is 100% dry before you turn your phone back on or plug it in.
Beyond Charging: Other Issues a Dirty Port Can Cause
A dirty charging port doesn’t just stop your phone from powering up. It can cause a surprising number of other frustrating issues. If you use a wired connection for Android Auto or Apple CarPlay, a poor connection can lead to frequent disconnects or a complete failure to launch the system on your car’s display. It can also interfere with data transfer to a computer or prevent wired headphones and other accessories from working correctly.
Preventive Care: Keeping Your Port Clean for Good
Observing device repair trends, it’s clear that environmental exposure is the leading cause of port contamination. The easiest fix is prevention.
- Use a Case with Port Covers: Many rugged and even slim cases come with built-in flaps that seal the charging port when not in use.
- Try a Dust Plug: These are tiny, inexpensive silicone or aluminum plugs that fit snugly into your charging port, keeping all dust and lint out. They’re a simple and effective solution, especially if you work in a dusty environment.
FAQs About Charging Port Cleaning
What if cleaning doesn’t fix the problem?
If a thorough cleaning doesn’t solve your charging issue, the next step is to troubleshoot your accessories. Try a different charging cable and power adapter that you know are working. If that still fails, the problem may be a damaged port or another internal hardware issue, which will require professional repair.
How often should I clean the port?
There is no set schedule, but a good practice is to inspect it with a light every few months. If you work in a dusty environment or frequently carry your phone in a lint-filled pocket, you may need to check it more often.
Will cleaning the port myself void my warranty?
Using the safe, non-damaging methods described here (compressed air, non-metallic tools) should not void your warranty. However, if you use a metal object and visibly damage the pins inside the port, that damage will almost certainly not be covered by the manufacturer’s warranty.
Take Back Control of Your Charge
Facing a phone that won’t charge is incredibly stressful, but the solution is often sitting right in your desk drawer. By carefully and safely cleaning your phone’s charging port, you can solve one of the most common hardware problems yourself, saving you time, money, and the headache of an unnecessary repair. Next time your phone refuses to power up, don’t panic—grab a can of compressed air and a toothpick first.